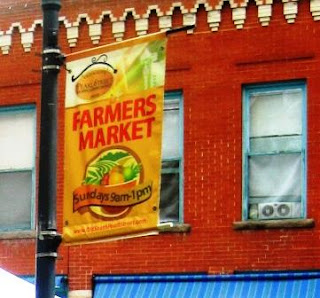
One of my favorite places to find a colorful inspiration are farmer's markets. Here are a few photos from the South Pearl Street Farmer's Market here in Denver, Colorado. One of my favorite things to buy are the amazing High Desert Peppers (hot of course!) and the Front Range Basil Tomatoes from the MMLocal booth. I love the colors of the rainbow beets as well.
For those of you who have been patiently following my Still Life 101 tips, here's Step 3 or How to Get Your Sketch onto the Canvas after you've toned your canvas. I feel there two basic rough in options, one is a bit more "devil may care" while the other your left brain will love.
Option 1: Assuming I warmed up with a planning sketch (as described in previous post) I "just do it." I lightly sketch my subject (from careful observation) directly onto the canvas. Focus on the big shapes again using a dry brush. (I usually use a round or small filbert.) Just enough paint to see the lines on a toned canvas. I prefer a brush rather than pencil or charcoal which I find smudgy.
This next part is very important because I think the key to success for moving from your simple big shapes to painting is creating believable 3D objects. On the Compose it Grid tool I was using big, simple flat shapes—more of an outline to get started. But when I switch to the canvas I’m now adding dimension to the shapes. For example the onion that was a rough circle becomes a sphere, the stems become slender cylinders, the table top a giant cube, etc.
 |
| Tone on tone sketch in using Option 2 (lines not visible in photo) |
Therefore a more careful way to transfer your composition what is often called the grid transfer method. This classic method can get quite complicated (I’ve seen some artists use hundreds of transfer squares) depending on your subject, size of canvas, and level of detail. But especially for smaller paintings (under 12x16 or so), I find I only need a simple “4 box” grid. I create this by marking the half way point on each side of the canvas.
For example, for my onions on a 9x12 vertical canvas I marked 4.5 inches (top and bottom) and 6 inches on the sides. With a very light pencil line I then draw a connecting line to create 4 quadrants (in this case 4 rectangles). Next, make a corresponding grid over your planning sketch or reference photo with pen or pencil. If you have a color printer photo you may want to print out a low res black/white version to grid. Or if you used a tool like a Compose It Grid obviously the space is already divided for you.
Another benefit from locating these “north/south” and “east/west” dividing lines is you can improve your composition greatly by avoiding the placement of any strong lines or shapes directly on them. Hopefully one of those 2 methods will work for you and help get you going. If we can make that an almost ritual like habit daily painting becomes that much easier.
P.S Quick thanks to Cindy and the nice folks at Compose It Grid for the blog link on their Reviews Page. I promise I have no affiliation with them--I just really, really love these easy to use grids.


No comments:
Post a Comment